You can not transfer photos to iPad through iTunes. But iTune is not the only tool to transfer files to iPad. You may find some iOS Apps can accept image files and browse photos on iPad. But if I don’t want any iOS Apps, how can I upload photos to iPad pictures folder, or even transfer pictures to Camera Roll?
This guide is about how to transfer photos to iPad with a third party tool, iTransfer. This software is designed to tranfer files amount apple devices and computer. So not only images, but also videos, musics, podcasts and even Apps are supported.
Step 1: Download and install iTransfer
iTransfer support Windows 8, Windows 7, Vista and XP. It can works well for iPad, iPhone, and iPod.
Click here to download Free Tiral of iTransfer.
Step 2: Connect iPad to iTransfer
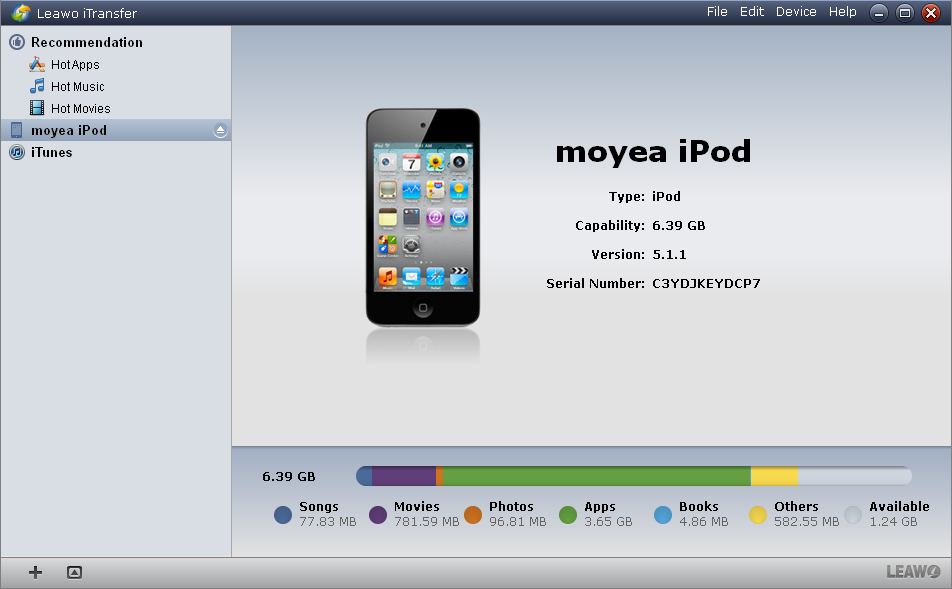
After installation, double click to run iTransfer. Then connect iPad to computer with USB wire. Your iPad should be displayed in iTransfer now, this means your iPad has been connected to iTransfer.

Step 3: Transfer Photos to iPad
Now everything is ready to transfer photos to iPad. Find the photos in explor, drag and drop it directly into iTransfer. iTransfer will identify the file type automatically, and save it to the right place.
That is all you need to do. You can browse these photos on iPad now.
